How We Handle Ceiling Water Damage Repair
Every ceiling repair requires finding the source first. The approach for water stains differs completely from structural sagging.
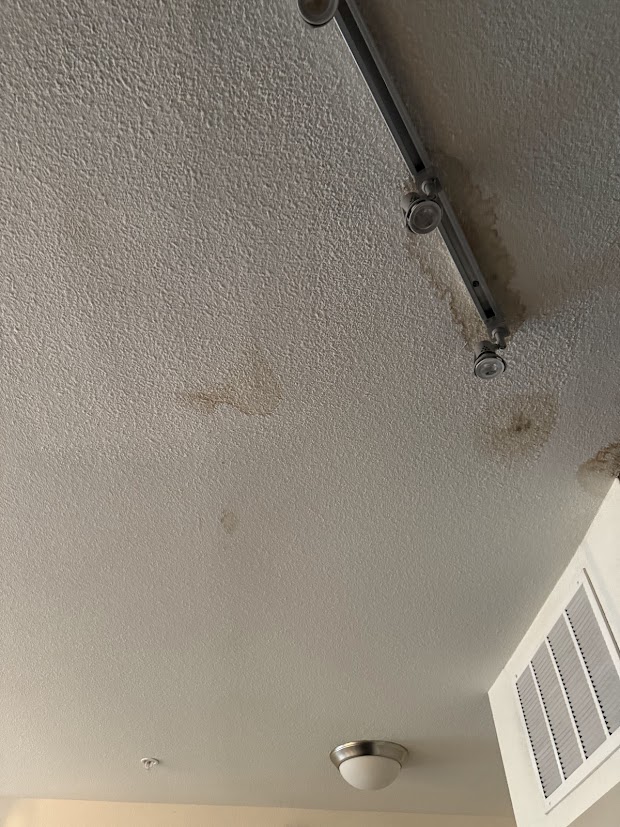
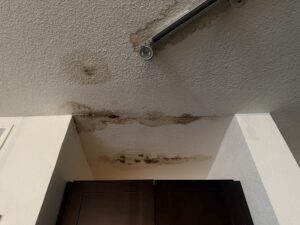
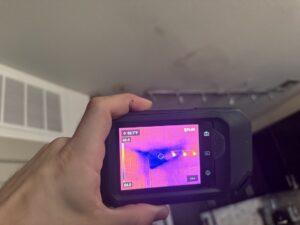
Step 1: Source Detection
We arrive quickly to assess damage severity. We locate the water source using moisture meters and thermal cameras – fixing ceilings without stopping leaks is pointless. Using attic inspection and wall cavity checks, we map how far water traveled. This determines whether it’s a simple patch or major reconstruction.
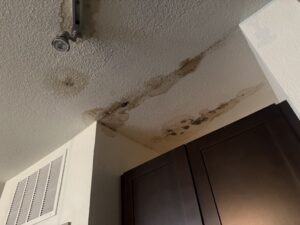
Step 2: Dry and Stabilize
Everything must dry completely first. We extract water from insulation above and set up commercial dehumidifiers and air movers. Sagging sections get supported or removed for safety. This includes cutting out compromised drywall and removing wet insulation – both become mold factories if left damp.
Step 3: Repair and Match
We install new drywall to exact thickness. Taping and mudding creates seamless transitions with existing ceiling. Texture matching is crucial – orange peel, knockdown, or smooth finish must blend perfectly. Every repair gets primed with stain-blocking primer to prevent bleed-through. This ensures repairs disappear completely.
Step 4: Paint and Protect
Final painting covers entire ceiling for uniform appearance. We apply mold-resistant primers in moisture-prone areas. Complete moisture testing confirms everything’s dry before closing up. Most ceiling repairs complete within 3-5 days including drying time.